Balm Lemon: How to Plant and Cultivate This Aromatic Plant
What if one versatile herb could transform your outdoor space while providing fresh ingredients for teas, meals, and natural remedies? Meet lemon balm—a fragrant powerhouse that’s been cherished for centuries but often overlooked in modern gardens.
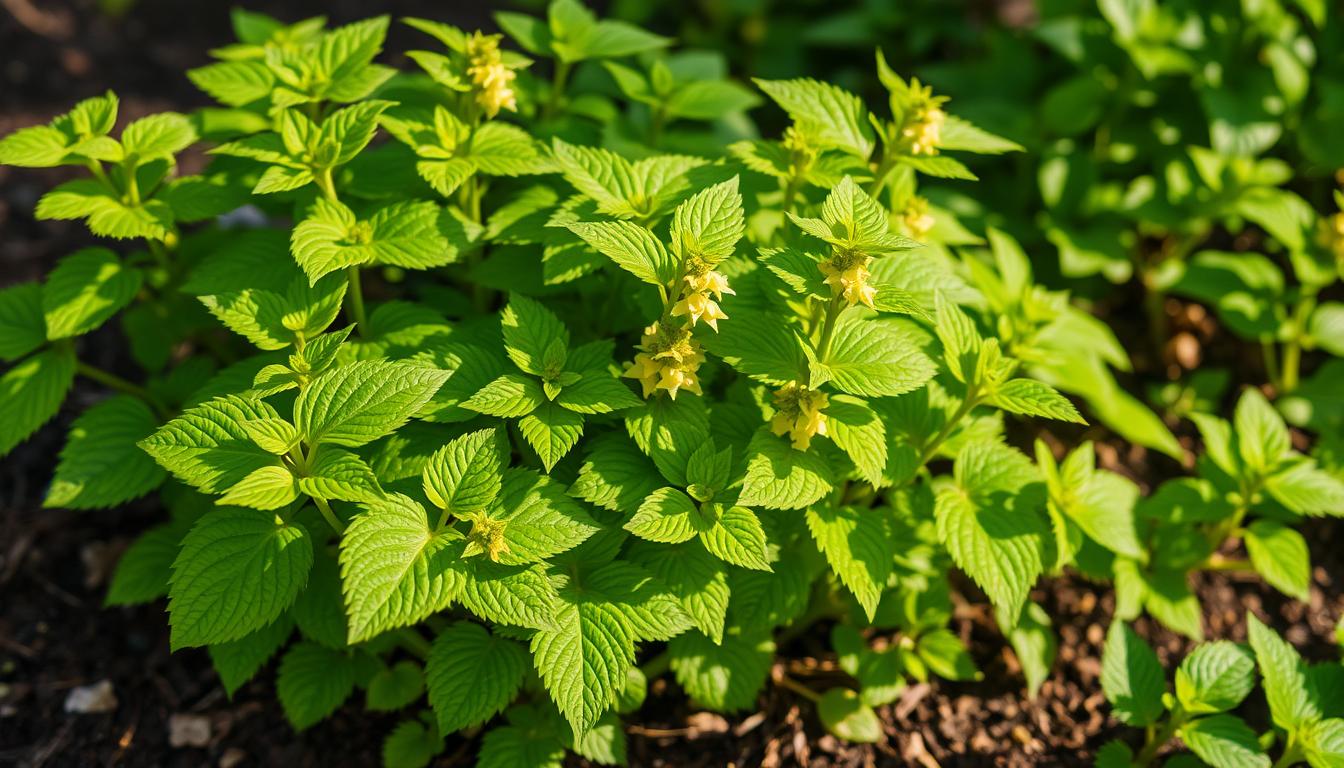
This hardy perennial grows in lush clumps with bright green leaves that release a soothing citrus aroma when brushed. Unlike fussy plants, it thrives in various conditions, making it perfect for both new and seasoned gardeners. You’ll love how its square stems and heart-shaped foliage add texture to flower beds or containers.
Beyond beauty, this member of the mint family serves multiple roles. Use it to flavor summer drinks, create calming herbal blends, or attract pollinators to your yard. Best of all, it requires minimal care once established—no green thumb needed!
Key Takeaways
- Discover a dual-purpose herb that enhances gardens and kitchens with citrusy fragrance
- Learn growth secrets for a plant that reaches 2-3 feet tall with minimal effort
- Explore historical uses dating back to medieval herbal traditions
- Master placement strategies to prevent overgrowth while maximizing benefits
- Get expert tips for thriving crops in containers, beds, or ground plantings
Understanding Balm Lemon and Its Benefits
There’s more to this fragrant herb than meets the eye—or the nose. Lemon balm brings a burst of citrusy freshness to gardens and kitchens alike, offering benefits that stretch far beyond its pleasant aroma. Let’s explore how this versatile plant can enhance your meals, support wellness, and beautify outdoor spaces.
Aromatic Qualities and Culinary Uses
Crush a leaf between your fingers, and you’ll release its signature scent—a bright lemon zest softened by earthy mint notes. This unique aroma makes it perfect for flavor-boosting in recipes. Try adding chopped leaves to grilled fish or mixing them into fruit salads for a refreshing twist.
|
|---|
Early American settlers relied on this member of the mint family as a citrus substitute. Today, its leaves work equally well in herbal ice cubes or as edible garnishes that elevate simple meals into gourmet experiences.
Health and Ornamental Attributes
Beyond the kitchen, lemon balm shines as a natural stress reliever. Steep leaves for a calming tea, or add them to bathwater for a soothing soak. Medieval healers prized these properties, using the herb to promote relaxation and digestive comfort.
In garden design, the plant’s textured foliage creates visual interest. Its compact growth habit pairs beautifully with flowering perennials, while pollinators adore its tiny white blossoms. Whether in borders or containers, it adds both beauty and practicality to your landscape.
Preparing Your Garden and Soil for Cultivation
Great gardens begin beneath the surface—where roots find their perfect home. Creating ideal conditions for your herb starts with understanding its soil preferences. A balanced foundation ensures vigorous growth and aromatic leaves ready for harvest.

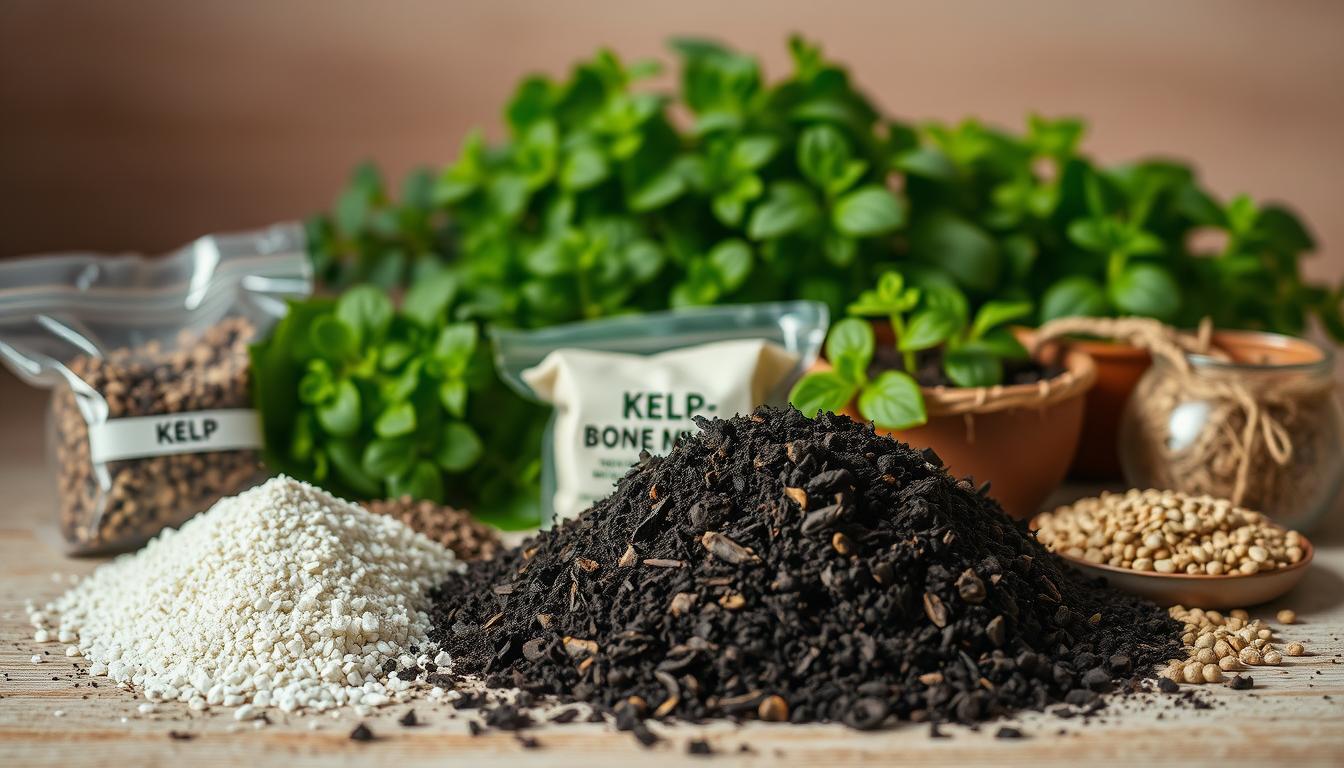
Improving Soil With Organic Matter and Compost
Start by testing your soil’s pH using an affordable kit from garden centers. Aim for 6.5 to 7.0—this sweet spot helps plants absorb nutrients efficiently. If your ground is too acidic, mix in crushed limestone. For alkaline soils, add sulfur or peat moss.
Next, enrich the bed with 3-4 inches of aged compost. This “black gold” boosts fertility and improves moisture retention. One gardener’s journal notes: “My plants doubled in size after adding compost tea during bed preparation.”
Heavy clay? Mix coarse sand or perlite to create well-drained soil. Sandy plots benefit from extra organic matter like leaf mold. Always loosen the ground 10 inches deep—this gives roots room to spread without waterlogging.
Choose a garden spot with morning sun and afternoon shade if possible. Clear weeds and debris, then layer composted manure for slow-release feeding. For tricky areas, build raised beds filled with quality potting mix and compost.
Planting Balm Lemon
Timing is everything when establishing this citrus-scented herb. Proper techniques during the initial growth phase set the stage for vigorous plants that’ll perfume your garden for years.
Step-by-Step Instructions for Planting
Wait until soil temperatures reach 60°F and nighttime lows stay above freezing. For most regions, this means 1-2 weeks after your area’s final spring frost. Check local agricultural extensions for exact dates.
| Method | Timing | Depth | Spacing |
| Seeds | Indoors 6 weeks pre-frost | Surface-sown | 18-24" apart |
| Transplants | Post-frost outdoors | Root ball level | 20-24" between |
Gently press seeds into moist soil—they need light to sprout. For nursery starts, dig holes twice as wide as the root ball. Position so the stem base aligns with the soil surface.
Water thoroughly after settling transplants. Morning planting reduces heat stress. One gardener notes: “Mulching around new starts keeps moisture consistent during those critical first weeks.”
Space multiple specimens at least 20 inches apart. This prevents overcrowding and lets air circulate freely. Established clumps reach 3 feet tall, creating lush green mounds by midsummer.
Selecting the Right Location and Sunlight
Finding the perfect spot for your herb makes all the difference in its growth and flavor. Light exposure directly impacts leaf texture, oil production, and overall plant health.

Full Sun Versus Partial Shade Considerations
Morning sun with afternoon protection creates ideal conditions. Your lemon balm prefers 4-6 hours of direct light daily but appreciates relief when temperatures soar. Observe how leaves respond throughout the day—they'll tell you if adjustments are needed.
| Light Condition | Leaf Quality | Care Tips | Flavor Notes |
| Full Sun | Smaller, thicker | Water deeply 2-3x weekly | More intense citrus |
| Partial Shade | Larger, softer | Mulch to retain moisture | Mellow, sweet undertones |
Gardeners in southern states often report better results with filtered afternoon light. One grower shares: "Moving my plants under a pecan tree doubled harvest yields and reduced watering needs."
Watch for pale leaves or stunted growth—these signal excessive sun exposure. Rotate container-grown specimens weekly to ensure even light distribution. Remember, seasonal changes affect intensity—spring sun differs from July’s harsh rays.
Experiment with different locations using movable pots. Track growth patterns in a gardening journal to identify what works best in your microclimate.
Soil, Watering, and Fertilizer Essentials
Healthy herbs start with smart soil care and smart feeding routines. Your green companion thrives when its roots get the right mix of moisture, nutrients, and air circulation. Let’s break down how to keep your plants lush and productive all season long.
Maintaining Well-Drained, Fertile Soil
Test soil moisture by sticking your finger an inch deep. If it feels dry, it’s time to water. A mulch layer works wonders—it prevents crusting and keeps roots happy during heat waves. One gardener swears: "My clay soil transformed after mixing in compost. Now water drains like clockwork!"
Refresh beds annually with organic matter. Compost or aged manure releases nutrients slowly while improving texture. For container growth, choose potting mixes labeled “for herbs”—they’re formulated for proper drainage.
Watering Techniques and Fertilizer Recommendations
Give plants about 1 inch of water weekly. Drip systems deliver hydration straight to roots without wetting leaves. Morning watering reduces evaporation and disease risks.
| Fertilizer Type | When to Apply | Result |
| Balanced 10-10-10 | Early spring | Stimulates new growth |
| Compost tea | After harvest | Boosts leaf production |
Feed lightly—too much fertilizer creates bland-tasting leaves. Stick to half-strength solutions for potted specimens. Always water before applying plant food to prevent root burn.
Propagation and Transplanting Techniques
Expanding your herb collection becomes effortless when you master these reproduction methods. Whether starting fresh or multiplying existing specimens, lemon balm offers multiple paths to success.

Three Paths to New Plants
Early spring brings seed-sowing opportunities. Scatter tiny seeds over moist soil, barely covering them—think dusting powdered sugar on toast. Keep the surface damp using a spray bottle until sprouts appear in 14-21 days.
|
|---|
For faster results, try layering. Bend a healthy stem toward the soil, nick its underside, and pin it down with landscape staples. Cover the wounded section with 2 inches of earth. Roots will form while the stem remains connected to the parent plant.
Established clumps thrive when divided every 3 years. Dig up mature plants in September, then separate root masses into fist-sized sections. Each piece needs 3-4 growth nodes. Replant immediately in prepared soil, watering thoroughly to reduce transplant shock.
One gardener shares: "Dividing my 5-year-old specimen yielded 12 new plants—enough to share with neighbors!" Remember to label your creations, as young plants resemble other mint relatives during early growth stages.
Managing Growth, Pruning, and Spread
Pruning isn’t just about control—it’s about unlocking your plant’s full potential. With simple techniques, you’ll maintain vigorous specimens that stay compact and productive. Regular attention prevents your green companion from overtaking nearby flowers or herbs.
Tools and Tips for Encouraging Bushy Growth
Pinch stem tips weekly during spring. This triggers side shoots to form, creating dense foliage perfect for frequent harvests. Use clean fingernails or shears to avoid damaging tender growth.
After flowering, cut stems back by one-third. Sharp pruning tools make clean cuts that heal quickly. Focus on removing woody or leggy branches to redirect energy into fresh leaves.
Contain enthusiastic spreaders by sinking metal edging 10 inches deep around garden beds. Container-grown plants naturally stay more compact. Rotate pots weekly for even sun exposure on all sides.
Divide mature clumps every 2-3 years. This refreshes root systems and yields new starter plants. Always disinfect tools between cuts to prevent disease transmission.
Your efforts reward you with aromatic leaves all season. More branching means more material for teas, recipes, and drying—while keeping your garden looking tidy.
FAQ
How much sunlight does lemon balm need?
This herb thrives in full sun but tolerates partial shade, especially in hotter climates. Aim for 4–6 hours of direct light daily for lush growth and strong flavor.
What type of soil works best for growing lemon balm?
Use well-drained soil enriched with compost or organic matter. A slightly acidic to neutral pH (6.0–7.0) ensures healthy roots and prevents waterlogging.
Can I grow lemon balm in containers?
Absolutely! Choose a pot with drainage holes and fill it with nutrient-rich potting mix. Trim stems regularly to keep the plant compact and prevent overcrowding.
How do I stop lemon balm from spreading too much?
Like other mint family members, it can be invasive. Plant it in a raised bed or use barriers like buried pots. Prune flowers before seeding to limit self-sowing.
When is the best time to harvest leaves?
Pick leaves in the morning after dew dries for peak flavor. For culinary use, harvest young, tender leaves before flowering. Dry or freeze extras to enjoy year-round.
Should I fertilize lemon balm?
A balanced fertilizer applied once in early spring supports growth. Avoid overfeeding—too much nitrogen reduces the aromatic oils in the foliage.
Can I propagate lemon balm from cuttings?
Yes! Take 4–6 inch stem cuttings, remove lower leaves, and place them in water or moist soil. Roots typically form within 2–3 weeks.
Does lemon balm attract beneficial insects?
Its fragrant blooms draw pollinators like bees and butterflies. However, it’s deer-resistant, making it a practical addition to gardens prone to wildlife browsing.
What is the 3-Hour Rule for Gardening: The Game-Changing Secret Every Gardener Needs to Know
Affiliate Disclaimer: This article may contain affiliate links. This means that if you click on a link and make a purchase, I may receive a small commission at no extra cost to you. I only recommend products and services that I believe in and that I think will be valuable to my readers.
AI Content Disclaimer: This article was partially assisted by AI writing tools. While AI was used to generate some of the text, all information and opinions expressed are those of the author.


Comments
Post a Comment