Your Guide to Planting Basil Cuban Successfully
What if you could grow a herb that outperforms every other variety in your garden? A plant so aromatic, it transforms ordinary dishes into culinary masterpieces? Meet Cuban basil – the vibrant, peppery-sweet superstar that’s redefining what fresh ingredients can do.
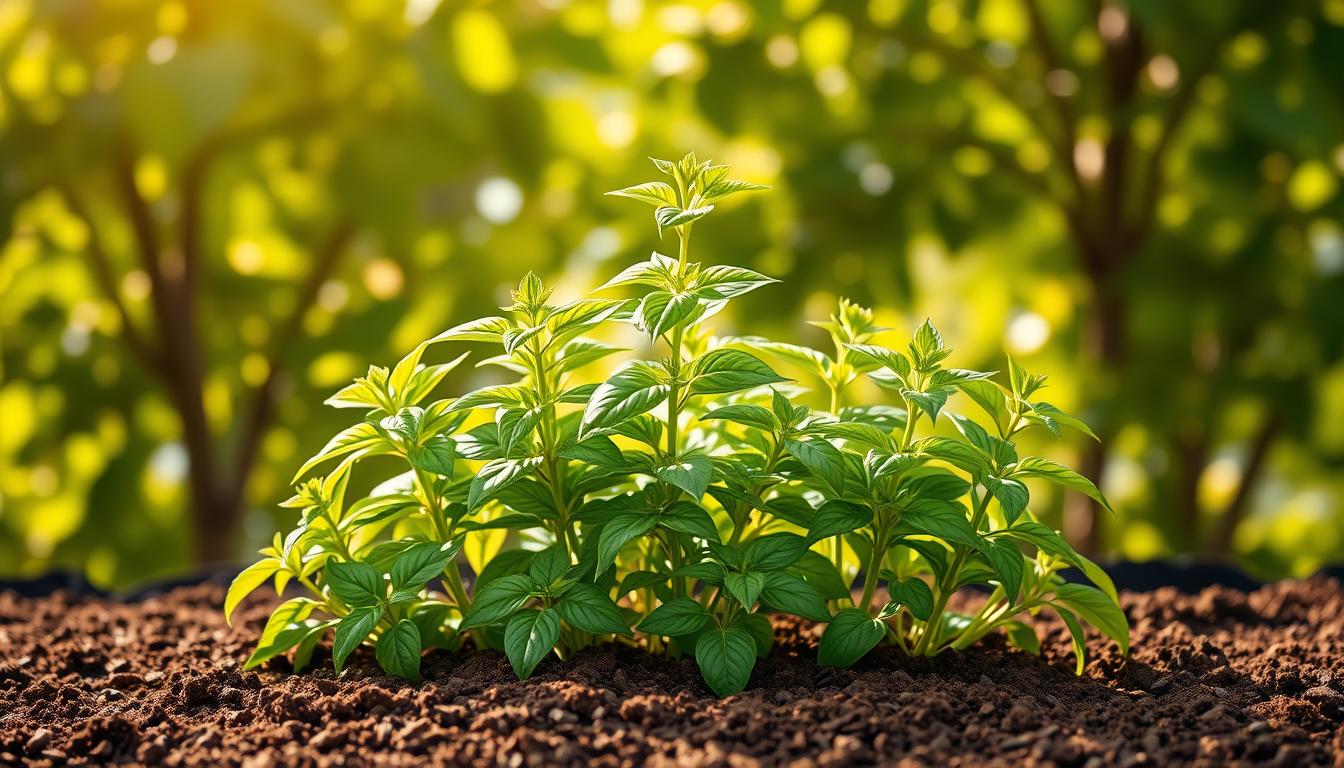
Unlike common basil types, this variety thrives in diverse conditions while packing a bold flavor punch. Its glossy leaves and sturdy stems make it a standout addition to gardens, patios, or even sunny windowsills. But here’s the twist: growing it successfully requires understanding its unique needs.
This guide unlocks everything you need. Learn why soil pH matters more than you think. Discover how sunlight and watering rhythms turn fragile seedlings into lush, productive plants. We’ll even show you preservation tricks to enjoy that garden-fresh taste year-round.
Key Takeaways
- Cuban basil offers a distinct flavor profile compared to standard varieties
- Proper soil preparation directly impacts plant health and yield
- Timing your harvest maximizes leaf production and aroma
- This herb adapts well to both outdoor gardens and container growing
- Regular pruning encourages bushier growth and longer harvest periods
Overview of Basil Cuban and Its Unique Qualities
While most herb gardens feature common sweet basil, Cuban basil stands out with its bold personality. Imagine leaves that pack twice the aroma and a flavor that dances between peppery warmth and citrusy brightness. This isn’t your average pesto ingredient—it’s a culinary game-changer.
How It Differs From Common Types
Traditional basil varieties often struggle in extreme heat, but this herb laughs at summer sun. Its thicker leaves retain moisture better, meaning fewer wilted plants during dry spells. You’ll notice the difference immediately—crush a leaf between your fingers, and the scent lingers like premium perfume.
A World of Taste Experiences
Among basil varieties, Cuban offers unique versatility. Chefs love how its spicy undertones elevate Caribbean mojos while complementing Italian tomato sauces. Compared to lemon or cinnamon basil, it delivers deeper complexity without overpowering other ingredients.
Gardeners appreciate its compact growth too. Unlike sprawling Genoa Green or tall Napoletano, this variety stays bushy—perfect for patio pots. Whether you’re drying leaves for winter stews or garnishing cocktails, it outperforms standard options in both flavor and resilience.
Essential Garden Preparations for Basil Planting
Getting your garden ready for a thriving herb starts with smart preparation. Three critical factors determine success: what's beneath your plants, how much light they receive, and whether containers suit your space better than traditional beds.

Preparing Nutrient-Rich, Well-Drained Soil
Your herb's foundation matters most. Mix 1 inch of compost into every 100 sq ft of soil to boost nutrients without overwhelming roots. Loamy earth with quick drainage prevents soggy conditions while retaining moisture during dry spells.
Selecting the Ideal Sunlit Location
Choose spots bathing in full sun for 6-8 hours daily. Morning light dries dew quickly, reducing mildew risks. Leave 12-18 inches between plants for airflow—this simple step fights fungal issues better than any spray.
Considerations for Container Gardening
Short on space? Use 10-12 inch pots with drainage holes. Containers let you control soil quality and move plants to chase sunlight. For bushy growth, pair them with moisture-retentive potting mix and weekly feeding.
|
|---|
Pro tip: Test drainage by watering empty containers before planting. If puddles linger longer than 30 minutes, add perlite or coarse sand to the mix.
Planting Basil Cuban: Step-by-Step Guide
Timing is everything when starting your herb garden. Get this right, and you'll enjoy vigorous growth from day one. Let's break down the process into manageable steps for both new growers and seasoned green thumbs.
Sowing Seeds and Transplanting Techniques
Begin after your area's final spring chill. Soil warmth matters most—aim for 75-85°F for seeds to wake up properly. If using seedlings, give them 4-6 weeks indoors before moving outside.
Create shallow trenches 1/8 inch deep for direct sowing. Cover lightly with soil and mist daily. Watch for sprouts in 10-14 days. Thin weaker plants early, leaving 3-4 inches between survivors.
Optimal Planting Depth and Spacing Tips
Overcrowding stifles growth. Start with temporary spacing, then expand as plants mature. Here's your progression plan:
- Week 1: Remove weakest sprouts at 3-4 inches
- Week 3: Thin to 8 inches apart
- Week 6: Final spacing of 12 inches
|
|---|
Pro tip: Harden off store-bought seedlings gradually. Expose them to outdoor conditions 2 hours daily, increasing over 7 days. This prevents shock when transplanting.
Planting Basil Cuban: Step-by-Step Guide
The secret to lush, aromatic leaves lies in balancing water, food, and careful shaping. Once your herbs are established, these three pillars determine whether you'll get sporadic pickings or a nonstop supply.

Achieving the Right Moisture Balance
Your herbs crave consistency. Aim for 1½ inches of water weekly—enough to keep soil moist but never soggy. Split this into 2-3 sessions to let roots breathe. Overwatering? Check for drooping leaves or yellowing stems.
"Think of irrigation like a steady heartbeat—irregular pulses stress plants, while rhythm keeps them thriving."
Fertilizing for Rapid Leaf Growth
Nitrogen is your herb’s best friend. Start feeding every 14 days with liquid fertilizer once stems reach 4 inches tall. For mature plants, mix 1-2 tablespoons per 10-foot row. This fuels explosive growth without burning delicate roots.
Pruning and Maintenance for Continuous Yields
Harvest when stems boast 6-8 leaves. Cut just above a leaf pair, leaving 2-4 behind to spur branching. Pinch off flower buds immediately—they steal energy from foliage production. Regular trimming keeps plants compact and productive for months.
Troubleshooting and Preventing Common Problems
Even the healthiest gardens face challenges. Your aromatic herb needs protection from hungry invaders and stealthy diseases that thrive in warm weather. Let’s tackle these issues head-on so your plants stay vigorous all summer long.

Managing Pests and Fungal Diseases
Watch for telltale holes in leaves—Japanese beetles and grasshoppers love tender foliage. Apply targeted soil treatments to stop larvae before they mature. Cover plants with breathable fabric when adult insects swarm.
Slugs leave slimy trails and ragged edges. Set up beer traps or copper barriers around your plants. Keep mulch thin near stems to reduce their damp hiding spots.
Fungal diseases like root rot strike when soil stays too wet. Water only when the top inch feels dry. Rotate planting locations yearly to disrupt disease cycles. Solarizing soil with clear plastic for 6 weeks kills stubborn pathogens.
Weed Control and Ensuring Adequate Air Circulation
Young herbs can’t compete with weeds. Pull invaders gently by hand during early growth stages. Spread straw mulch 2 inches thick to block sunlight from weed seeds.
Space mature plants 12-18 inches apart. This lets breezes dry leaves quickly after rain, preventing shoot blight. Prune lower foliage to improve airflow near the soil surface.
"Healthy spacing isn’t just about room to grow—it’s your first defense against moisture-loving fungi."
Harvesting and Preserving Your Basil Crop
Ready to enjoy your herb's full potential? Timing and technique make all the difference between fleeting freshness and year-round flavor. Let’s explore how to capture that garden-grown magic in your kitchen.
Timely Harvesting Techniques for Maximum Yield
Start gathering leaves when stems boast 6-8 sets. Use sharp scissors to cut just above a leaf pair, leaving 2-4 behind. This trick sparks new branches—like hitting the growth accelerator. Snip off flower buds immediately; they steal energy from leaf production.
Storing Fresh Basil for Ongoing Use
Keep cuttings vibrant by placing stems in water like fresh flowers. Avoid direct sunlight to prevent wilting. Need longer storage? Cover the jar with a plastic bag and refrigerate. Your leaves stay crisp for 7-10 days this way.
Drying, Freezing, and Culinary Applications
Bundle stems with twine and hang them upside-down in a shady spot. They’ll dry fully in 5-10 days—crunchy leaves mean success. Freeze whole leaves in ice cubes for winter soups, or blend into pesto that retains summer’s brightness.
Conclusion
To wrap things up, successfully growing Cuban basil is all about understanding its needs and nurturing it with love and care. With the right environment, proper watering, and a little patience, you’ll be rewarded with an abundant harvest of fresh basil that can elevate your dishes to new heights. Keep in mind that regular pruning and harvesting can promote bushier growth, so don’t hesitate to snip away! As you embark on this gardening adventure, remember that every plant tells a story, and yours will be no exception. Get those hands dirty and start planting today — you'll be amazed at how much joy a little basil can bring!
FAQ
How is Cuban basil different from traditional sweet basil?
Cuban basil has smaller leaves, a stronger licorice-like flavor, and a bushier growth habit. It’s more heat-tolerant than many traditional varieties, making it ideal for warm climates or summer gardens.
What type of soil works best for growing this herb?
Use well-drained, nutrient-rich soil mixed with compost. Aim for a slightly acidic to neutral pH (6.0–7.0). Avoid heavy clay, as it can lead to root rot and stunt leaf development.
How much sunlight does it need daily?
Provide at least 6–8 hours of full sun. In extremely hot regions, afternoon shade helps prevent leaf scorch while still encouraging robust flavor and growth.
Can I grow it in pots indoors?
Yes! Choose containers with drainage holes and use a high-quality potting mix. Place pots near a sunny window or under grow lights. Rotate them weekly for even growth.
How far apart should I space seedlings?
Space plants 10–12 inches apart to ensure proper air circulation. This reduces the risk of fungal diseases and gives roots room to spread without competition.
How often should I water the plants?
Water when the top inch of soil feels dry. Avoid overwatering—soggy soil promotes root rot. Mulching around the base helps retain moisture during hot spells.
What fertilizer boosts leaf production?
Use a balanced organic fertilizer (10-10-10) every 4–6 weeks. Too much nitrogen can weaken flavor, so focus on compost or diluted fish emulsion for steady growth.
When should I prune for continuous harvests?
Trim stems just above leaf nodes once plants reach 6 inches tall. Regular pruning encourages branching and delays flowering, which can make leaves bitter.
How do I protect against pests like aphids?
Spray affected leaves with a mix of water and mild dish soap. Neem oil or introducing ladybugs also helps control aphids without harming beneficial insects.
What’s the best time to harvest leaves?
Pick leaves in the morning after dew dries for peak flavor. Harvest before flowers bloom, as older leaves become tougher and less aromatic over time.
How long do fresh leaves last after picking?
Store stems in a glass of water (like cut flowers) at room temperature for 3–4 days. For longer storage, wrap leaves in a damp paper towel and refrigerate.
Can I freeze the leaves for later use?
Absolutely! Chop leaves, mix with olive oil, and freeze in ice cube trays. Dried leaves also work well in soups or sauces, but lose some brightness compared to fresh.
What is the 3-Hour Rule for Gardening: The Game-Changing Secret Every Gardener Needs to Know
Affiliate Disclaimer: This article may contain affiliate links. This means that if you click on a link and make a purchase, I may receive a small commission at no extra cost to you. I only recommend products and services that I believe in and that I think will be valuable to my readers.
AI Content Disclaimer: This article was partially assisted by AI writing tools. While AI was used to generate some of the text, all information and opinions expressed are those of the author.


Comments
Post a Comment